When it comes to firearm ownership, responsible maintenance is key to ensuring safety, performance, and longevity. If you own an AR-15, you may be wondering how to clean an AR-15 effectively. This task is not just about maintaining aesthetics; regular cleaning ensures reliability, accuracy, and safety during operation. In this comprehensive guide, we will explore the essentials of AR-15 cleaning, from safety tips to tools needed, and provide a step-by-step approach to disassembling and cleaning your firearm.
Essential Safety Tips for Cleaning an AR-15
Before beginning the cleaning process, it's crucial to prioritize safety. First, always treat every firearm as if it were loaded, even if you believe it to be unloaded. Start by clearing the firearm: remove the magazine, and visually and physically inspect the chamber to ensure no round is present. Choose a well-lit, clean workspace away from children and pets to minimize distractions and hazards. Wearing protective gear like safety glasses and gloves can shield you from harmful chemicals and debris. Additionally, always keep the muzzle pointed in a safe direction to prevent accidents. By adhering to these safety guidelines, you ensure a secure environment for cleaning your AR-15.

Required Tools and Supplies for Cleaning Your AR-15
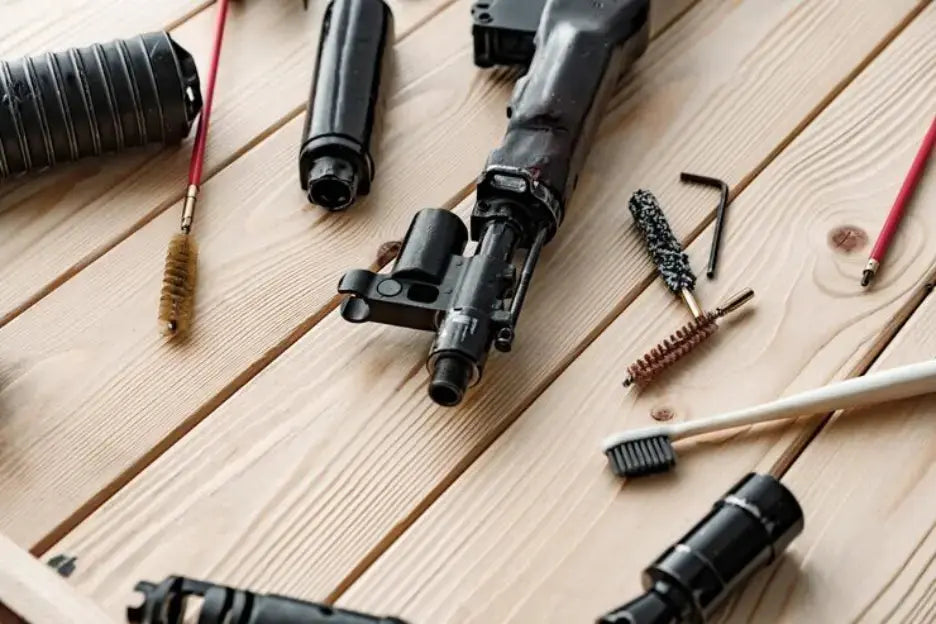
To effectively clean your AR-15, you'll need a few essential tools and supplies. A high-quality cleaning kit is crucial. Here are the recommended items:
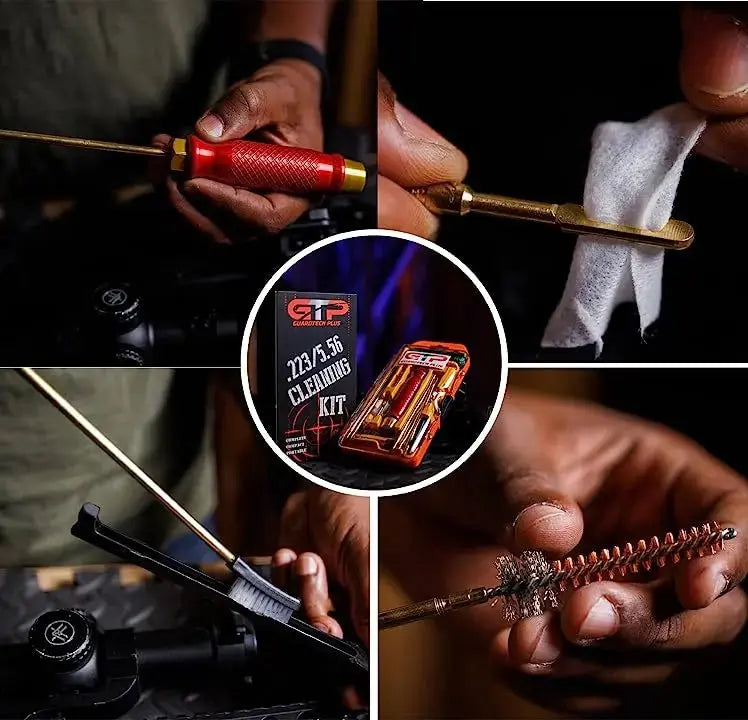
- Cleaning Kit: A comprehensive cleaning kit, such as the one from GuardTech Plus, includes brushes, patches, and solvents specifically designed for firearms.
- Cleaning Rod: A sturdy cleaning rod will help you reach the interior of the barrel.
- Bore Brush: A brass bore brush is necessary for scrubbing the barrel.
- Cotton Patches: These will help remove residue from the barrel and chamber.
- Gun Oil: A good lubricant will protect metal surfaces from corrosion.
- Toothbrush or Utility Brush: For scrubbing hard-to-reach areas.
- Rags or Paper Towels: For wiping down surfaces and removing excess oil or solvents.
By gathering these tools, you'll be well-prepared to tackle the cleaning process effectively.
Disassembling Your AR-15 for Cleaning
To begin disassembling your AR-15, start by ensuring the firearm is unloaded and pointed in a safe direction. Push the takedown pin to pivot the upper receiver away from the lower receiver. Next, pull the charging handle slightly to the rear to remove the Bolt Carrier Group (BCG) from the upper receiver. If your setup requires it, remove the handguard to access the gas system. Depending on your specific AR-15 model, you might also need to remove the buffer and spring from the lower receiver. By carefully following these steps, you'll be ready to proceed with the cleaning process.
Cleaning the Barrel and Chamber
The barrel and chamber of your AR-15 are critical components that require meticulous attention. Start by attaching a brass bore brush to your cleaning rod and running it through the barrel from the chamber end to the muzzle multiple times to dislodge any built-up debris. Next, apply a few drops of solvent to a cleaning patch and push it through the barrel to dissolve fouling. Allow the solvent to sit for a few minutes to break down residue effectively. Following this, run clean patches through the barrel until they come out free of any dirt or residue.
For the chamber, use a chamber brush to scrub the area thoroughly, making sure to reach all the nooks and crannies where residue can accumulate. It's important to ensure that all fouling is removed from the chamber to prevent operational issues. You may also use a cotton swab dipped in solvent for precision cleaning in tight spaces.
Once the barrel and chamber are clean, take a clean patch lightly coated with gun oil and run it through the barrel one last time to provide a protective layer against corrosion. This simple but crucial step will ensure your AR-15 remains in top condition.

Cleaning the Bolt Carrier Group
The Bolt Carrier Group (BCG) is another critical component that requires careful attention during cleaning. Begin by disassembling the BCG: remove the firing pin, cam pin, and bolt from the carrier. This allows for thorough cleaning of each individual part. Use a toothbrush or utility brush with solvent to scrub all surfaces of the bolt, carrier, and other components, paying special attention to the gas rings and locking lugs, where carbon buildup is most common.
To clean the firing pin, ensure it is free of carbon deposits and other debris. A clean firing pin is essential for reliable ignition. Additionally, inspect the extractor and ejector, ensuring they are free from dirt and operate smoothly. A cotton swab dipped in solvent can be useful for reaching tight areas.
After cleaning, it's crucial to apply lubrication. A light coat of gun oil should be applied to the bolt, cam pin, and other moving parts. This lubrication ensures smooth operation and prevents wear and corrosion. Make sure the gas rings are adequately lubricated but not over-saturated, as too much oil can attract dirt and carbon buildup.
When reassembling the BCG, start by reinserting the bolt into the carrier, followed by the cam pin and firing pin. Ensure all parts are correctly aligned and securely in place. Lastly, double-check that the BCG moves freely within the upper receiver before completing the reassembly of your AR-15. Regular cleaning and proper lubrication of the BCG are crucial steps in maintaining the overall reliability and performance of your firearm.
Reassembling Your AR-15
Begin the reassembly process by inserting the bolt back into the carrier and securing the cam pin in place. Once the bolt is properly seated, reinsert the firing pin, ensuring it is correctly positioned and moves freely. Next, align the Bolt Carrier Group (BCG) with the upper receiver and gently push it forward until it locks into position.
If you removed the handguard during disassembly, now is the time to reattach it, making sure it is securely fastened. After securing the handguard, pivot the upper receiver back into alignment with the lower receiver. Use the takedown pin to lock the two receivers together, ensuring a snug and secure fit.
Once the upper and lower receivers are connected, give a gentle tug on the charging handle to confirm that the BCG moves smoothly within the upper receiver. This step ensures that everything is properly aligned and functioning as it should.
Take a moment to inspect all visible components to confirm they are correctly assembled and seated. This thorough check will help you catch any potential misalignments or loose parts before proceeding. Finally, perform a basic function test to ensure that your AR-15 is reassembled correctly and ready for operation.
Final Inspection and Function Check
After reassembling your AR-15, it's essential to perform a final inspection and function check to confirm that everything is correctly assembled and operational. Begin by visually inspecting all components to ensure they are correctly positioned and securely fastened. Pay special attention to the Bolt Carrier Group (BCG), the handguard, and the takedown pins, verifying that all parts are correctly aligned and firmly in place.
Next, point the firearm in a safe direction and perform a basic function check. Pull the charging handle to the rear and release it to ensure the BCG cycles smoothly within the upper receiver. This step confirms that the BCG and charging handle are functioning correctly together.
With the firearm cleared of any ammunition, perform a dry fire by squeezing the trigger. This will help you confirm that the trigger mechanism is working properly and that the hammer falls as it should. Additionally, engage and disengage the safety selector to ensure it operates correctly, locking and unlocking the trigger mechanism.
Finally, inspect the magazine release and bolt catch to make sure they are functioning as intended. Insert an empty magazine, then release it to verify smooth operation. Lock the BCG to the rear using the bolt catch, then release it to check its functionality.
By conducting a thorough final inspection and function check, you ensure that your AR-15 is properly reassembled and ready for safe and reliable use.
Get a Cleaning Kit From GuardTech Plus
Investing in a high-quality cleaning kit is crucial for maintaining your AR-15 effectively, and GuardTech Plus offers some of the best kits on the market. These kits are specially designed for firearms and include all the essential tools you need—brushes, patches, and more—ensuring you have the right equipment to keep your rifle in prime condition. Using a well-equipped cleaning kit from GuardTech Plus not only simplifies the cleaning process but also enhances the overall longevity and performance of your AR-15. Whether you're a novice or an experienced gun owner, having reliable tools at your disposal makes a significant difference.


