Embarking on the journey of cleaning a pistol for the first time can seem daunting. The process, however, is a fundamental aspect of firearm ownership that not only ensures the safety and functionality of your pistol but also deepens your understanding and connection with it.
(Read: Gun Cleaning for Beginners)
This guide will walk you through each step of the cleaning process, demystifying the essentials and equipping you with the knowledge to perform this crucial maintenance task confidently.
(Also Check: Gun Cleaning: Safety and Maintenance Guide)
Why Cleaning Your Pistol is Essential
Before diving into the cleaning process, it's important to understand why keeping your pistol clean is so critical. Regular cleaning:
- Prevents the buildup of residues and contaminants that can affect performance.
- Reduces wear and tear, extending the lifespan of your firearm.
- Ensures safety by preventing malfunctions that could lead to dangerous situations.
Preparing for Cleaning
- Safety First: Ensure your pistol is unloaded. Remove the magazine and check the chamber to confirm it's empty.
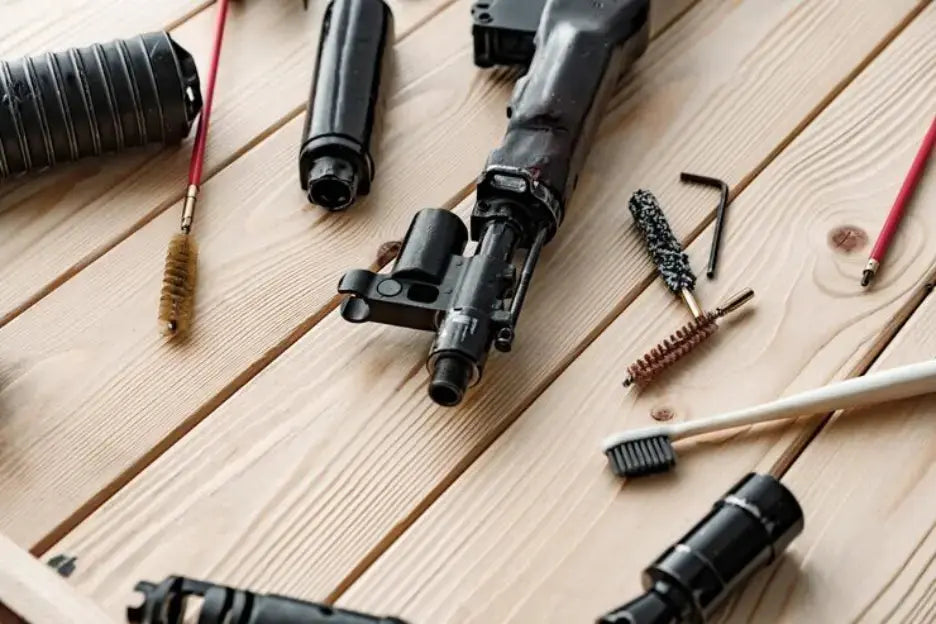
- Gather Your Cleaning Supplies: You will need a basic gun cleaning kit that includes a cleaning rod, bore brush, patch holder and patches, gun cleaning solvent, lubricant, and a microfiber cloth.
- Set Up Your Workspace: Choose a well-ventilated area and lay down a mat or cloth to protect the surface and collect any debris.
The Cleaning Process
Disassembling Your Pistol
Most pistols require basic disassembly for cleaning. Refer to your firearm’s manual for specific instructions on safely breaking down your gun. Typically, this involves separating the slide from the frame, removing the barrel, and possibly the recoil spring.
(Check Latest Gun Cleaning kit Offers)
Cleaning the Barrel
- Apply Cleaning Solvent: Attach the bore brush to your cleaning rod, apply solvent to the brush, and gently pass it through the barrel from the breech end to the muzzle. This loosens the buildup.
- Scrub the Bore: Repeat the process several times, adding more solvent as needed.
- Wipe the Barrel Clean: Switch to a patch holder and run solvent-soaked patches through the barrel until they come out clean. Finish with a dry patch to remove any remaining solvent.
(Suggested to you: .223 / 5.56 Tactical Cleaning Kit)
Cleaning the Slide and Frame
- Apply Solvent to the Slide: Use a small brush or cloth to apply solvent to the slide, focusing on areas with visible buildup or residue.
- Clean the Frame: Similarly, clean the frame and any other components that were disassembled, using solvent to remove grime and buildup.
- Wipe Everything Dry: Use a clean, dry cloth or patch to remove any remaining solvent and debris from all parts.
Lubricating Your Pistol
After cleaning, applying a thin layer of lubricant to moving parts is essential. This reduces friction and wear, ensuring smooth operation. Refer to your pistol’s manual for lubrication points.
Reassembling Your Pistol
Once all parts are clean and lubricated, reassemble your pistol, following the reverse process of disassembly. Ensure all components are correctly aligned and securely in place.
(Have you checked our: Bore-Worx Gun Cleaning)
Function Check
After reassembly, perform a function check to ensure everything is working correctly. This includes checking the action, safety mechanisms, and trigger. Do not load the pistol during this check.
Conclusion
Cleaning your pistol for the first time is a significant step towards responsible firearm ownership. By following these steps and maintaining a regular cleaning schedule, you ensure your firearm's safety, reliability, and longevity. Remember, familiarity with your pistol enhances both your shooting experience and overall gun safety.


